What Is the Easiest Way to Replace Wooden Sash Windows?
- montajulunitelsear
- Aug 13, 2025
- 4 min read

Wooden sash windows are a classic feature in many British homes, particularly in heritage and period properties. Their elegant design adds charm, yet over time, exposure to weather, wear, and age can cause them to deteriorate. When repair is no longer enough, replacing them becomes the best option.
However, many homeowners wonder—what is the easiest way to replace wooden sash windows without compromising the traditional look? The answer depends on preparation, skill, and choosing the right approach.
This guide walks you through the process, offers practical tips, and explains how to achieve a smooth replacement while preserving authenticity.
Know When Replacement Is Necessary
Before jumping into replacement, assess whether a repair might be more suitable. Heritage sash window repair and traditional sash window repair can restore many issues, such as minor rot, sticking sashes, or faulty cords.
However, full replacement is often required if:
The timber is extensively rotten.
The window structure is beyond safe repair.
Draught proofing cannot resolve energy loss.
Frames have warped beyond adjustment.
If these problems are present, replacing the sash windows is the most effective solution.
Choose the Right Replacement Method
There are two main approaches when replacing wooden sash windows:
1. Full Frame Replacement
This method involves removing the entire frame, sashes, and all associated parts. It is ideal when the original frame is damaged beyond repair. While this requires more work, it ensures a completely fresh start.
2. Insert Replacement
In this approach, the existing frame is retained, and only the moving sashes are replaced. It is quicker, less invasive, and helps maintain the original architectural features.
For heritage homes, insert replacement is often preferred as it aligns with sash window restoration principles.
Measure Accurately
Accurate measurement is essential to ensure your replacement windows fit perfectly. Measure:
The width at the top, middle, and bottom of the frame.
The height at the left, middle, and right sides.
The depth of the window box.
Always work with the smallest measurements to avoid gaps or fitting issues. A specialist in wooden window repair will ensure these measurements are precise.
Select Quality Materials
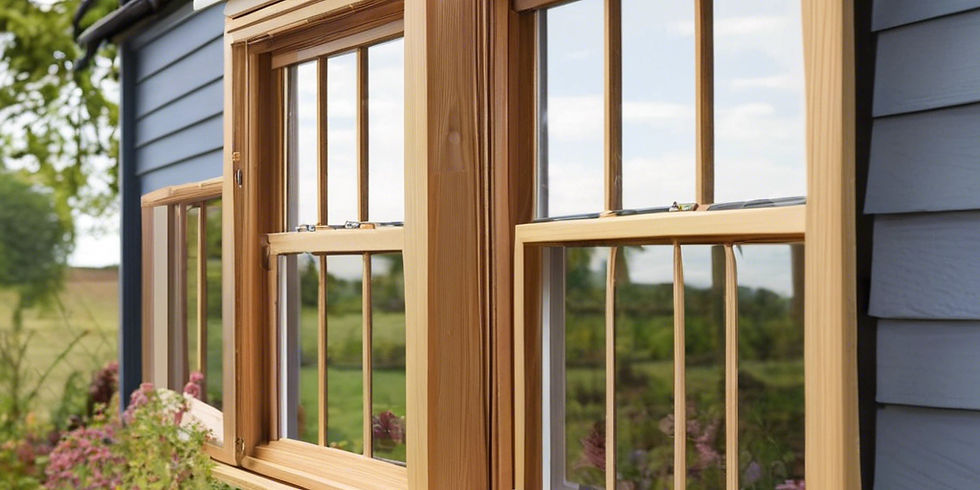
When replacing wooden sash windows, material choice determines longevity and appearance. For heritage and traditional sash window repair, hardwoods like oak or sapele are excellent. These woods resist rot and maintain structural integrity for decades.
Avoid low-quality softwoods that may warp or decay quickly. For added protection, use a durable paint or stain suitable for exterior timber.
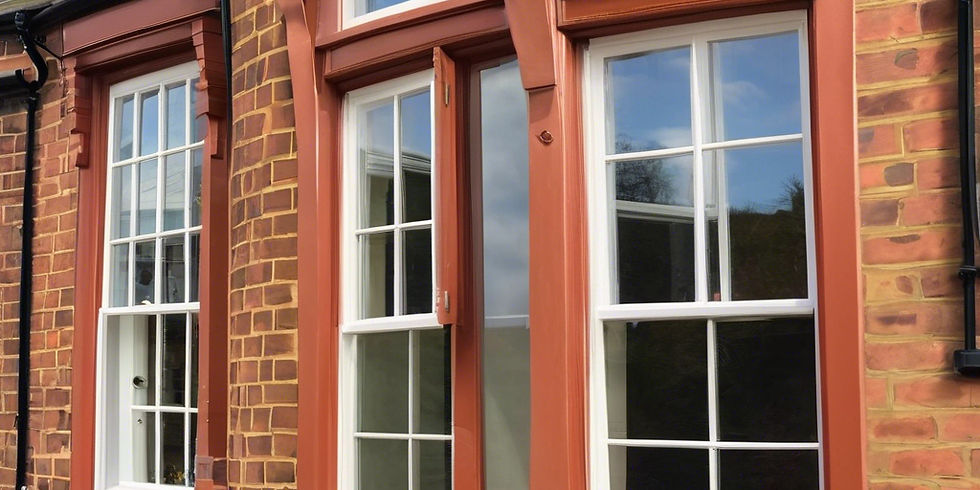
Preserve the Heritage Look
Maintaining a home’s character is crucial in listed or conservation properties. Choose designs that match the original style, including glazing bars, mouldings, and hardware.
Specialists in heritage sash window repair can replicate period details so the replacement blends seamlessly with the rest of the property.
Install Draught Proofing
While replacing your wooden sash windows, it’s the perfect time to add sash window draught proofing. This not only improves comfort but also reduces energy bills.
Draught proofing involves fitting discreet seals that prevent air leakage without altering the window’s appearance. It’s a small step that makes a noticeable difference.
Step-by-Step: Easiest Way to Replace Wooden Sash Windows
Here is a simplified process to make the job more efficient:
Prepare the Area – Remove curtains, blinds, and furniture near the window. Cover flooring to protect from dust.
Remove the Staff Beads – These thin strips hold the sashes in place. Use a pry bar gently to avoid damaging the timber.
Take Out the Lower Sash – Cut the sash cords carefully and secure the counterweights to avoid losing them.
Remove the Parting Beads – These separate the upper and lower sashes.
Extract the Upper Sash – Again, cut cords and secure counterweights.
Inspect the Frame – If retaining it, check for damage and carry out any wooden window repair needed.
Install New Sashes – Fit them into the frame, attach new sash cords or chains, and ensure smooth movement.
Replace Beads and Finish – Reattach parting and staff beads, then seal gaps with appropriate filler or caulk.
Paint or Stain – Protect the wood with a finish that suits the property style.
This process is straightforward for experienced joiners, but for homeowners without the skills, hiring a professional is the safest route.
Benefits of Professional Installation
Replacing sash windows may seem manageable for skilled DIY enthusiasts, but professional installation ensures accuracy, safety, and long-lasting performance.
Advantages include:
Precise Fit: Reduces air leaks and operational issues.
Expert Heritage Care: Maintains architectural integrity.
High-Quality Finish: Proper painting and sealing protect the timber.
Warranty: Many companies offer guarantees for peace of mind.
A specialist in sash window restoration can handle even complex replacements while respecting period details.
Cost Considerations
Replacement costs vary depending on the size, material, and style of your sash windows. Factors affecting price include:
The extent of frame damage.
Timber type used.
Draught proofing installation.
Decorative or heritage features required.
Getting multiple quotes from traditional sash window repair companies ensures you find a fair price without compromising on quality.
Maintaining Your New Sash Windows
Once replaced, proper maintenance extends the lifespan of your wooden sash windows:
Repaint or re-stain every 5–7 years.
Lubricate pulleys annually.
Keep drainage channels clear.
Check for signs of moisture or rot early.
Regular care prevents costly repairs and keeps your windows functioning smoothly.
Common Mistakes to Avoid
When replacing wooden sash windows, avoid these pitfalls:
Choosing uPVC replacements in heritage properties (often not permitted).
Using poor-quality timber or finishes.
Neglecting to install draught proofing.
Hiring inexperienced contractors unfamiliar with heritage work.
Avoiding these mistakes ensures your investment remains valuable and authentic.
When Replacement Becomes Restoration
In some cases, replacement projects evolve into sash window restoration. For example, while removing the old sashes, you may discover frame sections that require repair instead of full replacement.
Heritage sash window repair blends restoration with replacement, ensuring only necessary parts are changed while original materials are preserved.
Conclusion
The easiest way to replace wooden sash windows involves careful preparation, accurate measurement, and quality craftsmanship. While DIY may appeal to some, hiring a professional skilled in heritage sash window repair, traditional sash window repair, and sash window restoration ensures the job is done right.
From choosing durable timber to incorporating sash window draught proofing, each step matters for longevity and appearance. By working with experts, you protect your home’s character and enjoy windows that function beautifully for decades.
Comments